I tried to download the Cisco AnyConnect on my iPhone to experience VPN connectivity using a smartphone but wasn't successful on my first attempt. After the initial setup on the app, the ASA prompted the client that it had "No license."

I checked my ASA 5505 licenses using the show version command and saw the AnyConnect for Mobile is disabled. So I went to Cisco.com and found out there's a trial license that's good for 90 days (it actually gave me 91 days).
Licensed features for this platform:
Maximum Physical Interfaces : 8 perpetual
VLANs : 3 DMZ Restricted
Dual ISPs : Disabled perpetual
VLAN Trunk Ports : 0 perpetual
Inside Hosts : 10 perpetual
Failover : Disabled perpetual
Encryption-DES : Enabled perpetual
Encryption-3DES-AES : Enabled perpetual
AnyConnect Premium Peers : 2 perpetual
AnyConnect Essentials : Disabled perpetual
Other VPN Peers : 10 perpetual
Total VPN Peers : 12 perpetual
Shared License : Disabled perpetual
AnyConnect for Mobile : Disabled perpetual
AnyConnect for Cisco VPN Phone : Disabled perpetual
Advanced Endpoint Assessment : Disabled perpetual
UC Phone Proxy Sessions : 2 perpetual
Total UC Proxy Sessions : 2 perpetual
Botnet Traffic Filter : Disabled perpetual
Intercompany Media Engine : Disabled perpetual
Cluster : Disabled perpetual
Here's a link for ASA AnyConnect Mobile 90-day trial license. A valid SmartNet/CCO login is required.

Cisco will send the license key to your registered email address. Issue the activation-key command from privileged EXEC mode. The timebased key will immediately take effect and no reboot is required.
ASA5505# activation-key ?
<0x0-0xffffffff> Enter four-or-five-tuple activation-key
noconfirm Do not prompt for confirmation
ASA5505# activation-key 11580c70 bc7e2ac4 093d128a 4834133b 8abcdefg
Validating activation key. This may take a few minutes...
The requested key is a timebased key and is activated, it has 91 days remaining.
Licensed features for this platform:
Maximum Physical Interfaces : 8 perpetual
VLANs : 3 DMZ Restricted
Dual ISPs : Disabled perpetual
VLAN Trunk Ports : 0 perpetual
Inside Hosts : 10 perpetual
Failover : Disabled perpetual
Encryption-DES : Enabled perpetual
Encryption-3DES-AES : Enabled perpetual
AnyConnect Premium Peers : 2 perpetual
AnyConnect Essentials : Disabled perpetual
Other VPN Peers : 10 perpetual
Total VPN Peers : 12 perpetual
Shared License : Disabled perpetual
AnyConnect for Mobile : Enabled 91 days
AnyConnect for Cisco VPN Phone : Disabled perpetual
Advanced Endpoint Assessment : Disabled perpetual
UC Phone Proxy Sessions : 2 perpetual
Total UC Proxy Sessions : 2 perpetual
Botnet Traffic Filter : Disabled perpetual
Intercompany Media Engine : Disabled perpetual
Cluster : Disabled perpetual
This platform has a Base license.
Serial Number: JMX1423WXYZ
Running Permanent Activation Key: 0x3021cd54 0x20efac90 0xc852410c 0xb95cd094 0xc123456
Running Timebased Activation Key: 0x11580c70 0xbc7e2ac4 0x093d128a 0x4834133b 0x8abcdefg
Configuration register is 0x1
Configuration last modified by cisco at 21:32:03.918 SGT Sat May 3 2014
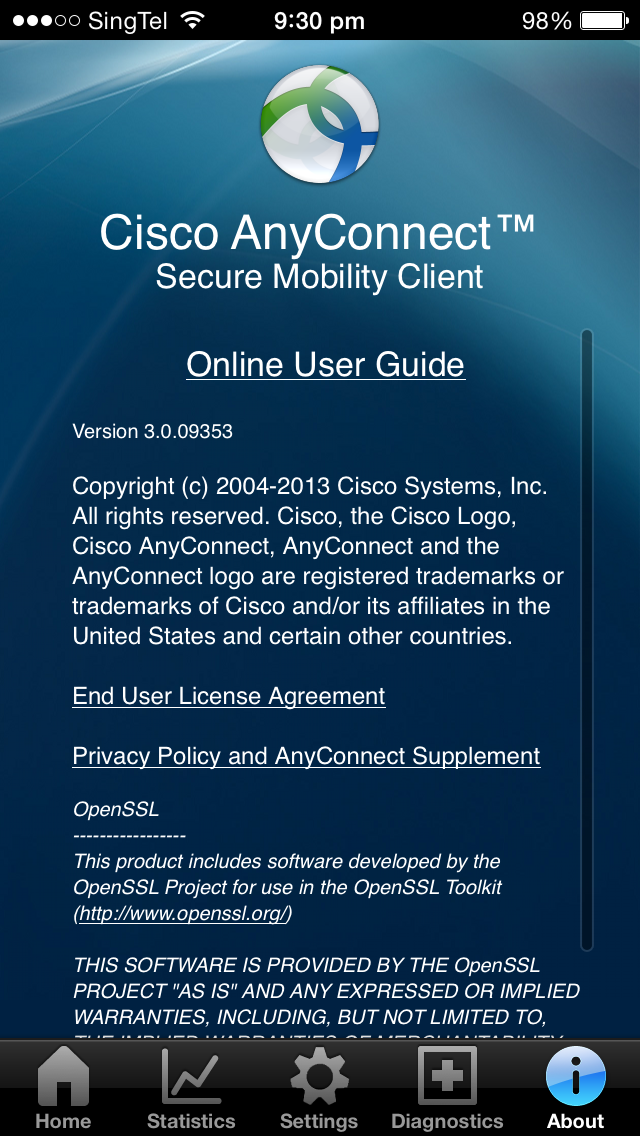
Here are the screenshots to configure the AnyConnect Mobile on the iPhone.


Tap on the AnyConnect VPN to turn it ON and connect to the VPN.

Click on Details to view the certificate contents.


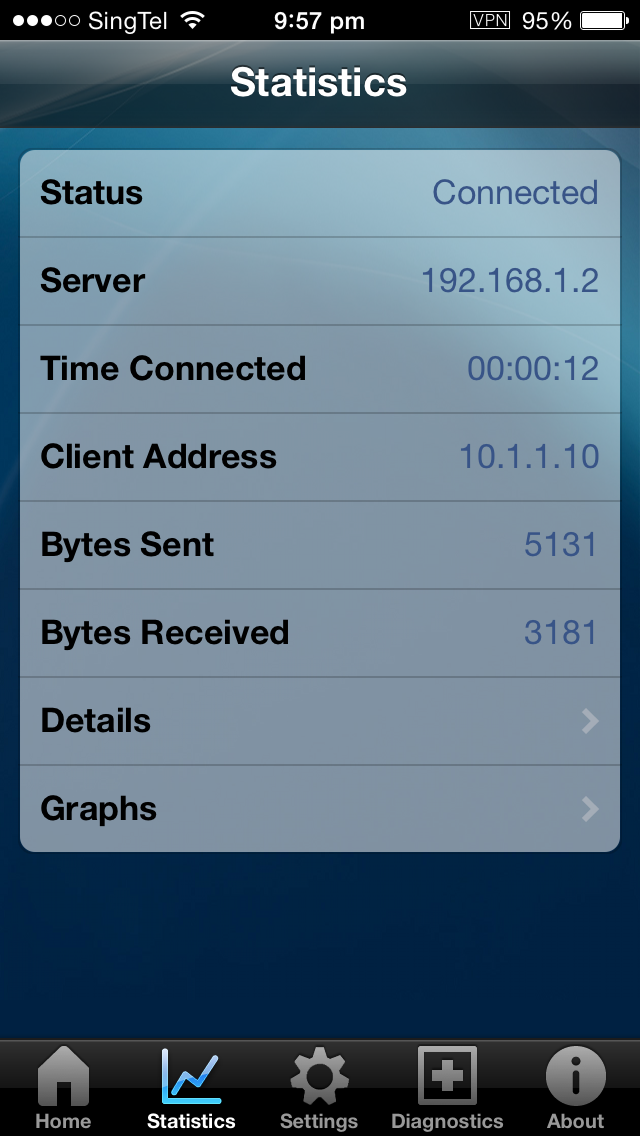
I received the first IP address 10.1.1.10 from the AnyConnect/VPN DHCP pool.


 I can now browse my VPN portal home page.

Here are the screenshots and syslogs captured from ASDM Real-Time Log Viewer.


ASA5505# show vpn-sessiondb anyconnect
Session Type: AnyConnect
Username : anyconnect-user Index : 7
Assigned IP : 10.1.1.10 Public IP : 192.168.1.22
Protocol : AnyConnect-Parent SSL-Tunnel DTLS-Tunnel
License : AnyConnect Premium, AnyConnect for Mobile
Encryption : AnyConnect-Parent: (1)none SSL-Tunnel: (1)RC4 DTLS-Tunnel: (1)AES128
Hashing : AnyConnect-Parent: (1)none SSL-Tunnel: (1)SHA1 DTLS-Tunnel: (1)SHA1
Bytes Tx : 3288 Bytes Rx : 43027
Group Policy : GroupPolicy_ANYCONNECT-PROF
Tunnel Group : ANYCONNECT-PROF
Login Time : 21:50:59 SGT Sat May 3 2014
Duration : 0h:01m:22s
Inactivity : 0h:00m:00s
NAC Result : Unknown
VLAN Mapping : N/A
VLAN : none
I checked my ASA 5505 licenses using the show version command and saw the AnyConnect for Mobile is disabled. So I went to Cisco.com and found out there's a trial license that's good for 90 days (it actually gave me 91 days).
Licensed features for this platform:
Maximum Physical Interfaces : 8 perpetual
VLANs : 3 DMZ Restricted
Dual ISPs : Disabled perpetual
VLAN Trunk Ports : 0 perpetual
Inside Hosts : 10 perpetual
Failover : Disabled perpetual
Encryption-DES : Enabled perpetual
Encryption-3DES-AES : Enabled perpetual
AnyConnect Premium Peers : 2 perpetual
AnyConnect Essentials : Disabled perpetual
Other VPN Peers : 10 perpetual
Total VPN Peers : 12 perpetual
Shared License : Disabled perpetual
AnyConnect for Mobile : Disabled perpetual
AnyConnect for Cisco VPN Phone : Disabled perpetual
Advanced Endpoint Assessment : Disabled perpetual
UC Phone Proxy Sessions : 2 perpetual
Total UC Proxy Sessions : 2 perpetual
Botnet Traffic Filter : Disabled perpetual
Intercompany Media Engine : Disabled perpetual
Cluster : Disabled perpetual
Here's a link for ASA AnyConnect Mobile 90-day trial license. A valid SmartNet/CCO login is required.
Cisco will send the license key to your registered email address. Issue the activation-key command from privileged EXEC mode. The timebased key will immediately take effect and no reboot is required.
ASA5505# activation-key ?
<0x0-0xffffffff> Enter four-or-five-tuple activation-key
noconfirm Do not prompt for confirmation
ASA5505# activation-key 11580c70 bc7e2ac4 093d128a 4834133b 8abcdefg
Validating activation key. This may take a few minutes...
The requested key is a timebased key and is activated, it has 91 days remaining.
Licensed features for this platform:
Maximum Physical Interfaces : 8 perpetual
VLANs : 3 DMZ Restricted
Dual ISPs : Disabled perpetual
VLAN Trunk Ports : 0 perpetual
Inside Hosts : 10 perpetual
Failover : Disabled perpetual
Encryption-DES : Enabled perpetual
Encryption-3DES-AES : Enabled perpetual
AnyConnect Premium Peers : 2 perpetual
AnyConnect Essentials : Disabled perpetual
Other VPN Peers : 10 perpetual
Total VPN Peers : 12 perpetual
Shared License : Disabled perpetual
AnyConnect for Mobile : Enabled 91 days
AnyConnect for Cisco VPN Phone : Disabled perpetual
Advanced Endpoint Assessment : Disabled perpetual
UC Phone Proxy Sessions : 2 perpetual
Total UC Proxy Sessions : 2 perpetual
Botnet Traffic Filter : Disabled perpetual
Intercompany Media Engine : Disabled perpetual
Cluster : Disabled perpetual
This platform has a Base license.
Serial Number: JMX1423WXYZ
Running Permanent Activation Key: 0x3021cd54 0x20efac90 0xc852410c 0xb95cd094 0xc123456
Running Timebased Activation Key: 0x11580c70 0xbc7e2ac4 0x093d128a 0x4834133b 0x8abcdefg
Configuration register is 0x1
Configuration last modified by cisco at 21:32:03.918 SGT Sat May 3 2014
Here are the screenshots to configure the AnyConnect Mobile on the iPhone.
Tap on the AnyConnect VPN to turn it ON and connect to the VPN.
Click on Details to view the certificate contents.
Type the Tunnel Group (aka Connection Profile), username and password that's created on the ASA.
After the AnyConnect mobile license was installed and the iPhone got connected to the VPN, it automatically created the ASA5505(IPSEC) entry.
I received the first IP address 10.1.1.10 from the AnyConnect/VPN DHCP pool.
Here are the screenshots and syslogs captured from ASDM Real-Time Log Viewer.
This is the equivalent command in CLI.
Session Type: AnyConnect
Username : anyconnect-user Index : 7
Assigned IP : 10.1.1.10 Public IP : 192.168.1.22
Protocol : AnyConnect-Parent SSL-Tunnel DTLS-Tunnel
License : AnyConnect Premium, AnyConnect for Mobile
Encryption : AnyConnect-Parent: (1)none SSL-Tunnel: (1)RC4 DTLS-Tunnel: (1)AES128
Hashing : AnyConnect-Parent: (1)none SSL-Tunnel: (1)SHA1 DTLS-Tunnel: (1)SHA1
Bytes Tx : 3288 Bytes Rx : 43027
Group Policy : GroupPolicy_ANYCONNECT-PROF
Tunnel Group : ANYCONNECT-PROF
Login Time : 21:50:59 SGT Sat May 3 2014
Duration : 0h:01m:22s
Inactivity : 0h:00m:00s
NAC Result : Unknown
VLAN Mapping : N/A
VLAN : none


