When deploying a clientless or full tunnel SSL VPN solution for remote users, guests, and customers to access your resources, you run the risk of those users connecting from devices that are not under your direct control or that contain potentially harmful software such as keyloggers. Therefore, you must be able to provide them with a secure local environment while they are accessing your resources. In addition, after they have completed their work and closed the connection, you must also be able to remove any cached settings or credentials that might have been used during their connection (to prevent replay or session-based attacks, identity theft, and so on).
The Cisco Secure Desktop (CSD) is built specifically for these purposes. By deploying CSD to your users, you can perform checks such as prescan (that is, before they log in), provide a secure local environment and remote connection, encrypt local files, manage local and remote resource access, and when users finish, remove all trace of their working on the specific device until they connect again.
The process of enabling CSD on an ASA is pretty straightforward and begins by obtaining the latest CSD PKG file from Cisco.com (valid login and contract required). After you have obtained a copy of the CSD package (.pkg file), upload it to the ASA's flash so that you can enable it. You can do so by navigating within the ASDM to either Configuration > Remote Access VPN > Secure Desktop Manager > Setup and clicking the Upload File button or navigating to Tools > File Management and using the file transfer menus to upload the PKG file from your local PC to the ASA.
After you have uploaded the necessary PKG file, you can then enable the CSD by choosing Enable Secure Desktop or by entering the csd image <location> and csd enable CLI commands within webvpn configuration mode.

File transfer via ASDM using Tools > File Management > File Transfer and choose from the drop-down method either Between Local PC and Flash or Between Remote Server and Flash.


The commands to enable CSD in CLI are as follows:
ASA5505(config)# webvpn
ASA5505(config-webvpn)# csd ?
webvpn mode commands/options:
enable Enable CSD
hostscan Cisco Secure Desktop hostscan package file path
image Cisco Secure Desktop package file path
ASA5505(config-webvpn)# csd enable
ASA5505(config-webvpn)# csd image ?
webvpn mode commands/options:
disk0: Cisco Secure Desktop package file path
flash: Cisco Secure Desktop package file path
ASA5505(config-webvpn)# csd image flash:securedesktop-asa-3.2.1.103-k9.pkg
After uploading CSD to flash, the other CSD menu options becomes available on the left side of the screen right below the original setup menu.


You are given a few options within the prelogin policy that can enable you to determine whether a remote user is connecting from a corporate-owned device, a public device, or other device:
* Registry Check: You can check for a specific key within the Windows Registry.
* File Check: You can check for the existence of a particular local file on the user's device.
* Certificate Check: If your organization takes advantage of an internal or external Public Key Infrastructure (PKI) infrastructure, you can check for certain fields and values within certificates that have been deployed to users or devices.
* OS Check: You can check for a particular OS running on a user's device.
* IP Address Check: You can check for a specific IP address or subnet that a remote user is connecting from.
I created a prelogin policy object that will scan and enforce remote SSL VPN user to use Windows 2000 and above and within the IP address range of 192.168.1.0 /24.


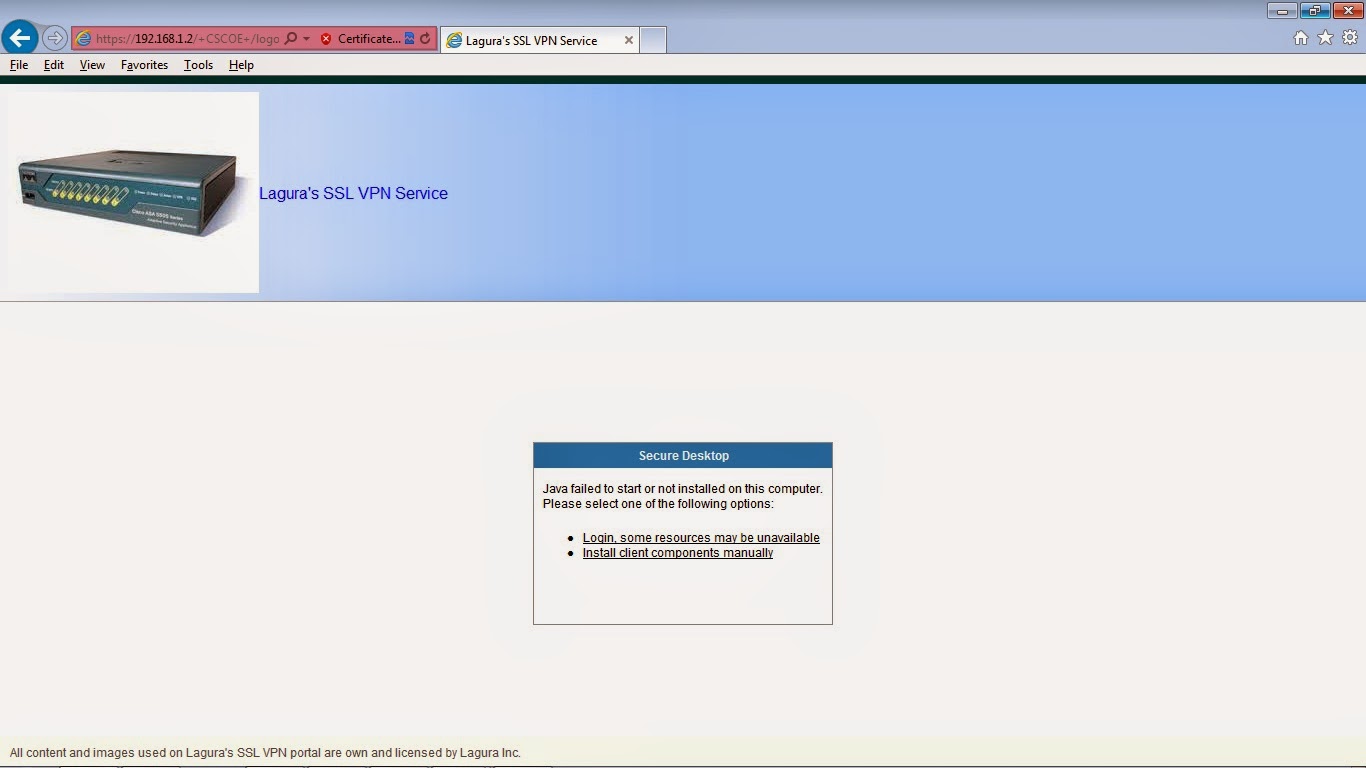
Now we can test and install CSD upon login via SSL VPN portal on the ASA device.


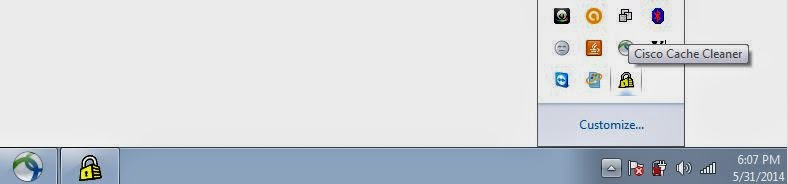
 Once successfully logged in to the SSL VPN portal, the CSD is minimized and can be found in the Task Manager.


The Cisco Secure Desktop (CSD) is built specifically for these purposes. By deploying CSD to your users, you can perform checks such as prescan (that is, before they log in), provide a secure local environment and remote connection, encrypt local files, manage local and remote resource access, and when users finish, remove all trace of their working on the specific device until they connect again.
The process of enabling CSD on an ASA is pretty straightforward and begins by obtaining the latest CSD PKG file from Cisco.com (valid login and contract required). After you have obtained a copy of the CSD package (.pkg file), upload it to the ASA's flash so that you can enable it. You can do so by navigating within the ASDM to either Configuration > Remote Access VPN > Secure Desktop Manager > Setup and clicking the Upload File button or navigating to Tools > File Management and using the file transfer menus to upload the PKG file from your local PC to the ASA.
After you have uploaded the necessary PKG file, you can then enable the CSD by choosing Enable Secure Desktop or by entering the csd image <location> and csd enable CLI commands within webvpn configuration mode.
File transfer via ASDM using Tools > File Management > File Transfer and choose from the drop-down method either Between Local PC and Flash or Between Remote Server and Flash.
The commands to enable CSD in CLI are as follows:
ASA5505(config)# webvpn
ASA5505(config-webvpn)# csd ?
webvpn mode commands/options:
enable Enable CSD
hostscan Cisco Secure Desktop hostscan package file path
image Cisco Secure Desktop package file path
ASA5505(config-webvpn)# csd enable
ASA5505(config-webvpn)# csd image ?
webvpn mode commands/options:
disk0: Cisco Secure Desktop package file path
flash: Cisco Secure Desktop package file path
ASA5505(config-webvpn)# csd image flash:securedesktop-asa-3.2.1.103-k9.pkg
After uploading CSD to flash, the other CSD menu options becomes available on the left side of the screen right below the original setup menu.
You are given a few options within the prelogin policy that can enable you to determine whether a remote user is connecting from a corporate-owned device, a public device, or other device:
* Registry Check: You can check for a specific key within the Windows Registry.
* File Check: You can check for the existence of a particular local file on the user's device.
* Certificate Check: If your organization takes advantage of an internal or external Public Key Infrastructure (PKI) infrastructure, you can check for certain fields and values within certificates that have been deployed to users or devices.
* OS Check: You can check for a particular OS running on a user's device.
* IP Address Check: You can check for a specific IP address or subnet that a remote user is connecting from.
I created a prelogin policy object that will scan and enforce remote SSL VPN user to use Windows 2000 and above and within the IP address range of 192.168.1.0 /24.
Now we can test and install CSD upon login via SSL VPN portal on the ASA device.

No comments:
Post a Comment